Friday, September 3, 2010
Started Cutting the Table Pieces
Tonight I was able to do must of the cuts for the side tables. I was able to cut everything from the 1x2, 1x3 and 1x6 boards with my mitre saw. But for the 1x10, 1x12 and plywood I need to get a circular saw. I just can't seem to decide.
Thursday, September 2, 2010
Stick a Fork in it....
The door is back up and the baseboard heat's cover is back in place. My work is done repairing the leaky faucet. Now on to the bedside tables. I got the plans HERE.
Monday, August 30, 2010

The Final Stretch
Only a few odds and ends left to deal with. Install the baseboard and re-hang the door. Without further adieu < obligatory drum roll >


Punch List for BRFH 2010
Things left to do:
Molding around the new floor tile and the wall tile.Caulk the tile, tub and toilet.Check the vanity top to make sure it's smooth.Install the vanity - cutting access holes for pipe.Establish the layout of sink.Install the sink and faucet.- Install new hardware on doors and install them back on the vanity.
- Find some shelves and install in place of medicine cabinet.
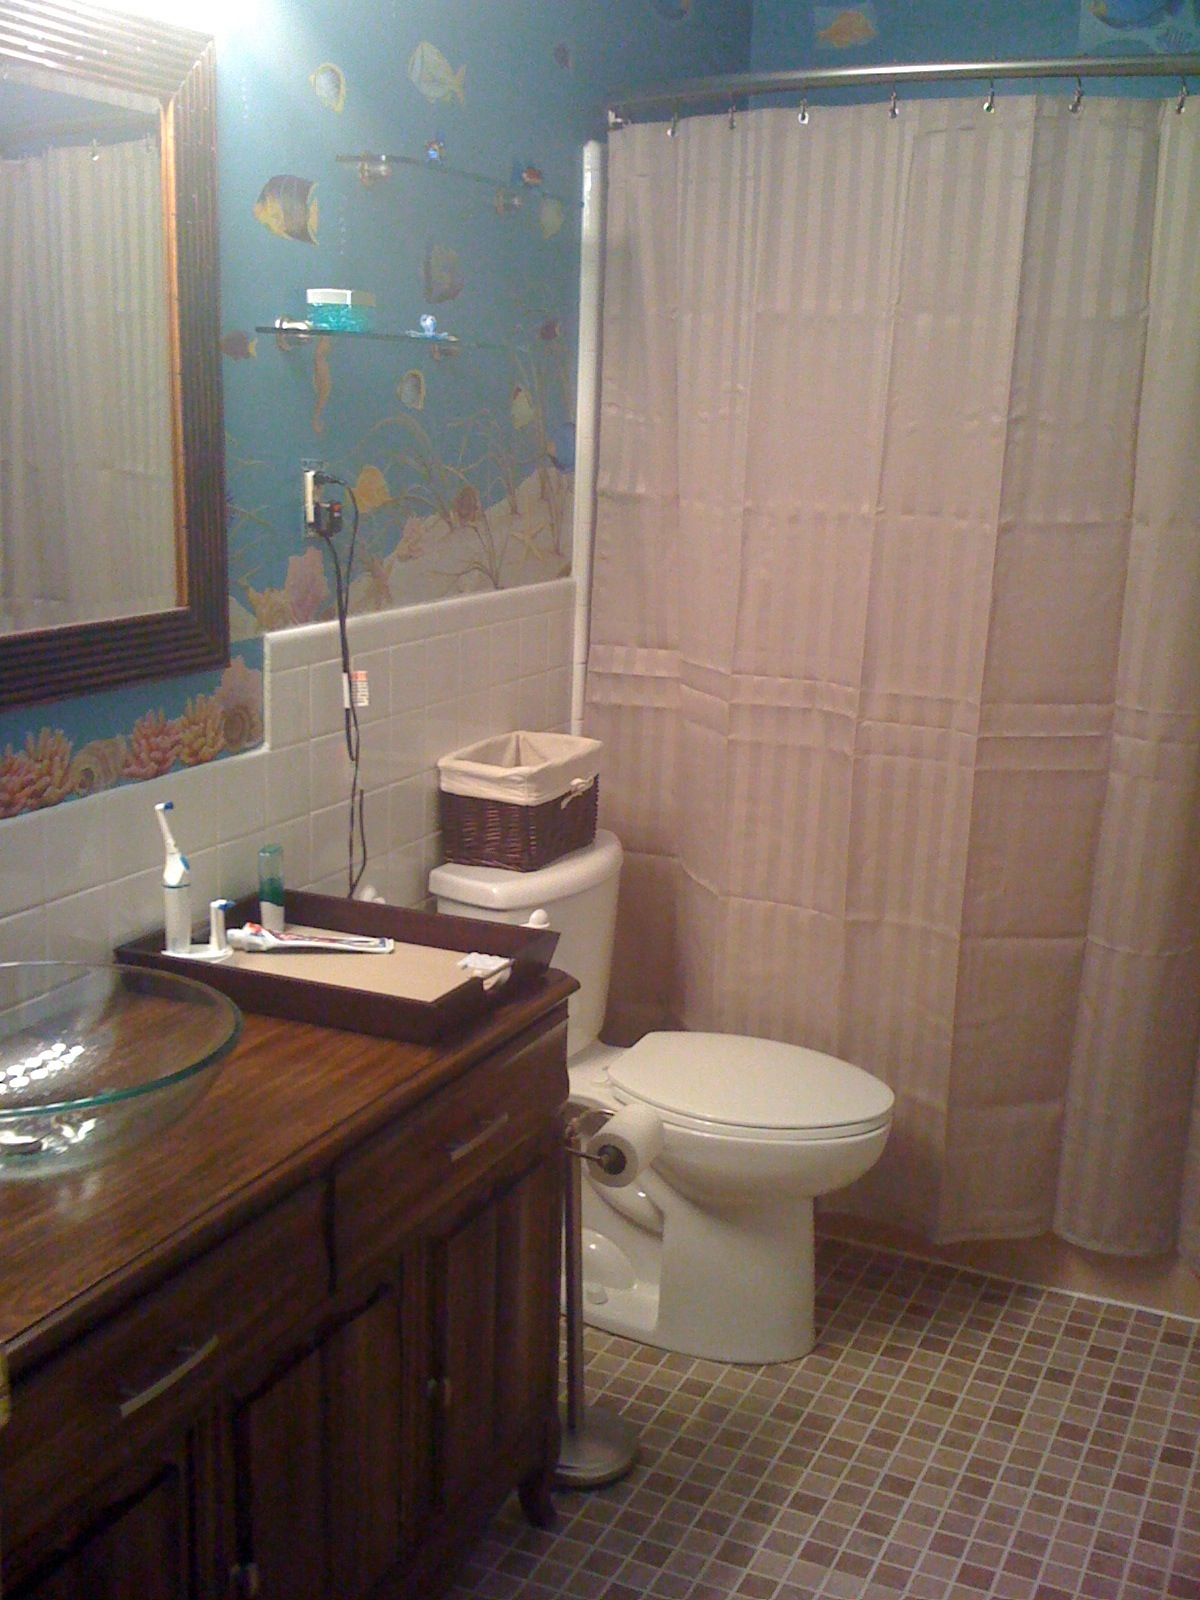
- Put up the shower curtain.
- Decorate with tray and knick-knacks we picked up on clearance at Pier 1.
- Re-hang the door
Sunday, August 29, 2010
Easy Three Step Sunday.
Step 1. Go to Lowes three times. First to pick up hole saws - one for the sink drain and one for the faucet. Of course, they can't be the same size. Second trip to Lowes look for some longer hoses or way to connect the wrong connector from the wall and an extension for the drain. Wrong size (of course), so back to Lowes for a third time. This time got the correct size ( 1 1/4" ) drain. And a very cool older guy showed me how to correct the hose problem. Use a nipple to connect two hoses to correct both the length issue and the coupling issue.

Step 2. Rough out the back of the vanity for access to the pipes. Drill the holes for the sink and faucet. Install everything onto the vanity and position it by the wall.
 After connecting the drain and the water connections this is how it looked under the vanity. Kind of ugly but it will get the job done.

Step 3. Test the connections and yes it works! Actually it took about a dozen attempt to get all the leaks fixed. But, yes it does work.
 Here is how it looks installed with everything is but the doors. We did lose one drawer to accommodate plumbing. So we cut out the back of the drawer under the sink. Just need to put in the doors and the vanity is done.


Step 2. Rough out the back of the vanity for access to the pipes. Drill the holes for the sink and faucet. Install everything onto the vanity and position it by the wall.


Step 3. Test the connections and yes it works! Actually it took about a dozen attempt to get all the leaks fixed. But, yes it does work.


Subscribe to:
Comments (Atom)